Set Project Security
Project Security Settings
See Manage Project Security to understand how security is managed for projects, collections and networks under the default Sintelix Security Model.
Access by User Name or Group
Access to Projects, Collections and Networks can be assigned to individual users or to Security Groups. When access is assigned to a Security Group, a user has access when they are a member of that group.
Administrator's need to assign users to Security Groups. See HelpManage User Accounts.
Access the Edit Project Security
To access the Edit Project Security dialog:
-
From the home page, select on the security icon next to the project name and select .

-
From the selected Project pane, select on the
 Menu icon next to the project name and select .
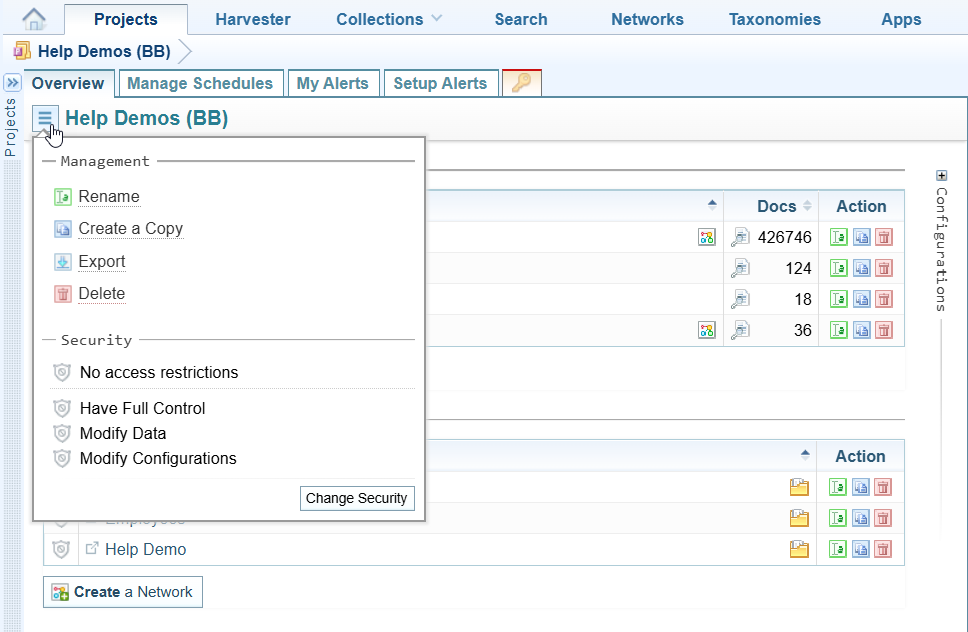
The Change Security button is only available when you have the required security privileges.
Result: The Edit Project Security dialog is displayed. In each section, the current security status is shown.
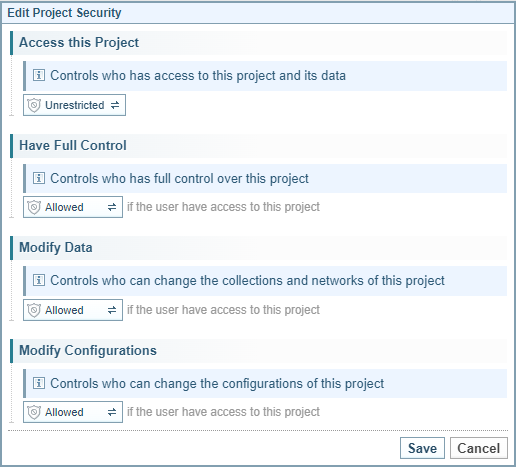
Change Project Security Settings
To change the security settings:
-
Select the button with the security icon displayed to display the Edit Security Metadata control.
-
To add a user or security group:
-
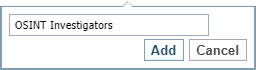
Select the
 Add button.
Result: The Add dialog is displayed.
-
Enter the user name or security group, as required.
-
Select .
-
-
To remove a user name or security group, select
 next to the name you want to remove.
-
When you have made the changes required, select .
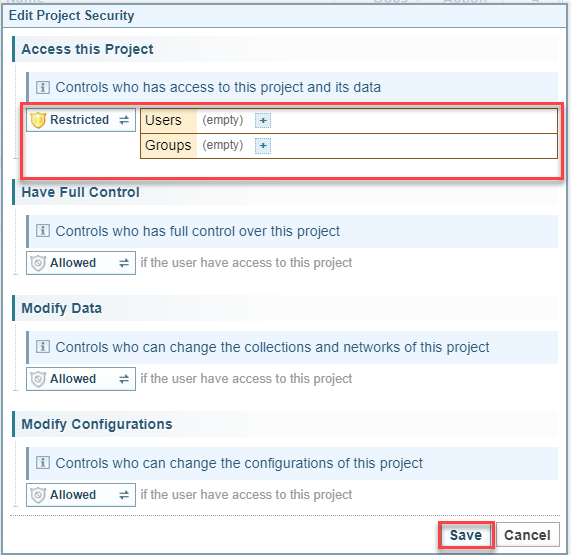
Prevent All Access
You can prevent all users and groups from accessing a project. They will still be able to see the project in the project list, but there will be a red shield indicating that access is restricted.
Under the Default Security Model, users assigned with Admin Access will be able to access the projects.
To prevent all users and groups from accessing the project:
- The button under Access this Project must show Restricted. If it shows Allowed, select it to change it to Restricted.
- There must not be any user names or groups in the list. Remove all users and groups from the list by selecting next to each name.
- Select .