HelpManage User Accounts
Introduction
The Manage User Accounts tab allows you to view and manage users with access to Sintelix.
There are three sections of information:
-
Overview: Summarises the user accounts and sessions.
-
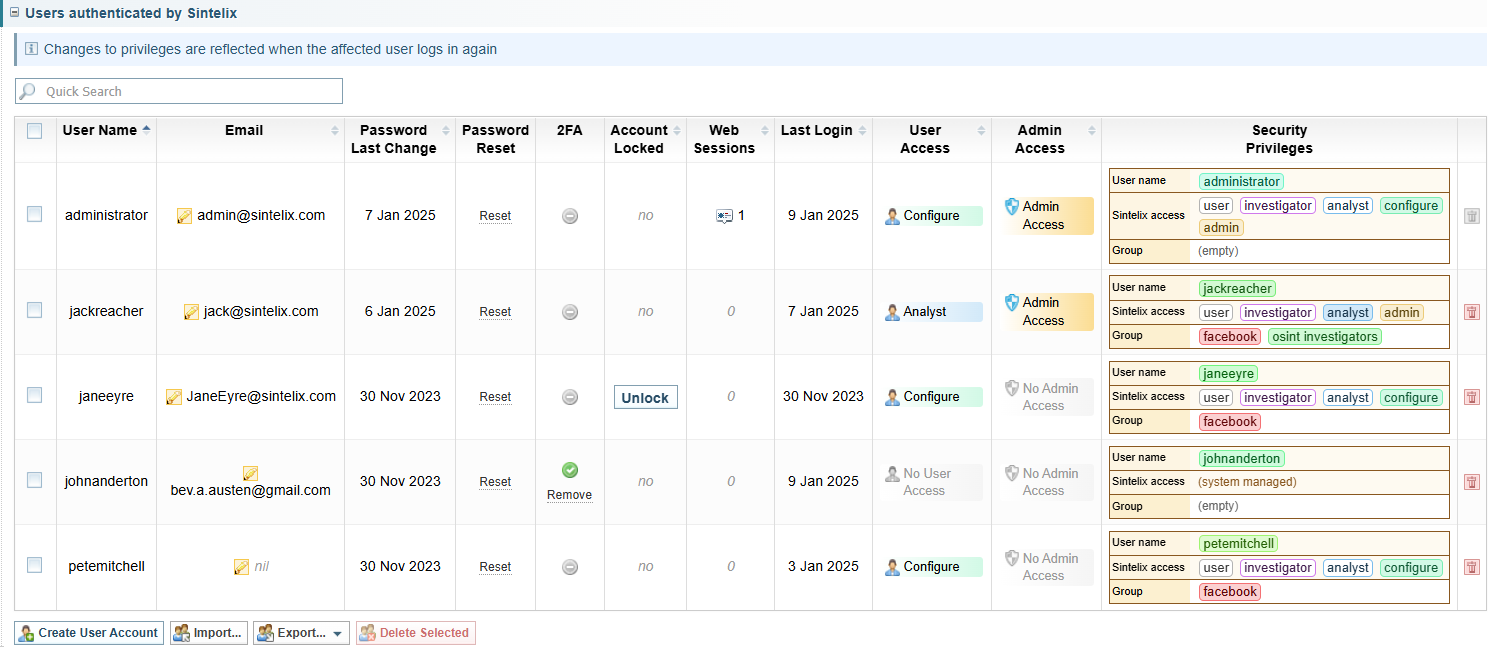
Users authenticated by Sintelix: Allows you to view and manage users created in Sintelix using the built-in user management.
-
External user repositories: Allows you to view and manage user accounts created and authenticated through external methods of access management.
Access
Select Admin > Manage User Accounts tab to manage users.
Set Up User Accounts
See Set Up User Accounts for information about the different methods for setting up users, which includes internally using Sintelix's built-in user authentication or through external user authentication.
Manage Sintelix Users
Screen Example
Below shows the table of Users authenticated by Sintelix.
Actions
The actions available include:
|
Column |
Display |
Action |
|---|---|---|
|
|

|
Change User Email |
|
Password Reset |
Reset a User Password | |
|
2FA |
|
Remove Two Factor Authentication |
|
Account Locked |
Unlock a User Account | |
|
Web Sessions |
|
Kill a User's Sessions |
|
User Access |
|
Change a User's Role |
|
Admin Access |

|
Change Admin Access |
|
Security Privileges |
|
|
|
|
|
|
|
|
||
|
|
Export and Import Users |
|
|
|
Password Activation Token
A single-use password activation token is required for:
-
a new user to set their password, and
-
a user to reset their password.
Administrator Email
If you use Sintelix’s built-in user authentication (rather than external user authentication), we recommend an email account is set up for Sintelix.
When a email account is setup for Sintelix and user accounts have an email address:
-
the password activation token can be emailed to new users, and
-
existing users can get a password activation token emailed to them to allow them to reset their own passwords.
Create a New User
To create a user account in Sintelix:
-
Select the
 Create User Account button
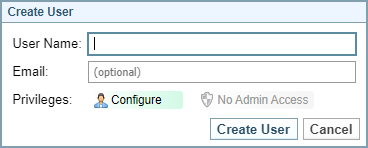
Result: The Create User dialog is displayed.
-
Enter the user name
-
Enter the user’s email address (optional)
Result: When an email address is entered, the Send Activation Token by Email option is displayed.
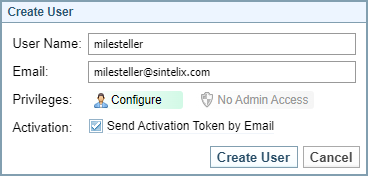
If an email account has not been set up for Sintelix, the Send Activation Token by Email checkbox is greyed out.

See Administrator Email.
-
If you do not want to send the password activation token to the user by email, clear the checkbox.
-
By default, the Privileges dropdown displays the Configurer role.
Choose the required user role from the dropdown list.
If you want to set up an account and assign privileges later, select No User Access. -
By default, new user accounts do not have Administrator access. To give the user administrator access, select No Admin Access to toggle to Admin Access.
-
Select .
Result: A message confirms that the user account has been created and displays the user’s password activation token.
If the Activation Token by Email option was enabled, the status of the email sent is displayed.
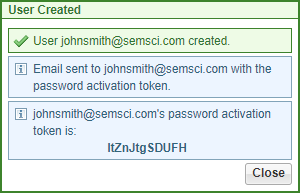
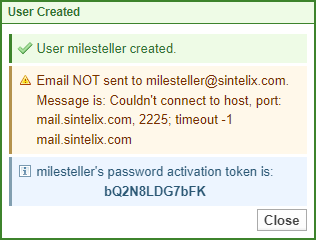
If the email was not successfully sent, an error message is displayed.
-
If you have not sent the activation token to the user by email, copy the token and provide it to the user so they can activate their account.
Even if the activation token was sent via email, it is a good idea to keep a copy the activation token in case their is an issue accessing the email. However, you can also Reset a User Password to generate a new activation token.
-
Select to clear the message.
Change User Email
If you configure LDAP, Active Directory or OAuth User Authentication, the email addresses will be automatically saved into the Sintelix User Profile.
For more information, see:
To change the user’s email address:
-
Select the Edit icon
 beside their email address.
 -
Enter the new email address.
-
Select .
Reset a User Password
Users can reset their own password from the Log In screen when a Sintelix email account has been set up and the user account has an email address. See Administrator Email and Reset your Sintelix password (User Guide).
To reset a user’s password manually:
- Select for the user.
-
Select to confirm.
Result: The password activation token is displayed in the message displayed.
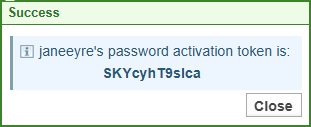
- Copy the password activation token and provide it to the user.
- Select .
Result: A message asks if you want to generate a password activation token.
Remove Two Factor Authentication
A user can add Two Factor Authentication onto their account, see Setting Two-Factor Authentication. If required, Administrators can remove the Two Factor Authentication for the user.
-
Select
 .
. -
Select the button to confirm.
Unlock a User Account
A user account will become locked after a number of failed log in attempts, as set the by security policy.
To unlock a user account:
-
Select .
-
Select to confirm.
Depending on the reason for the account becoming locked, it is a good idea for the user password to be reset. See Reset a User Password
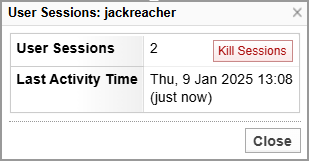
Kill a User's Sessions
When a user has active sessions in Sintelix, you will see the sessions icon ![]() followed by the number of active sessions.
followed by the number of active sessions.
To kill a user's active sessions:
-
Select the sessions icon

Result: The User Sessions dialog is displayed.
-
To kill all active sessions, select the button.
Result: A success message is displayed.
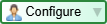
Change a User's Role
The User's role defines the level of access to Sintelix capabilities. See Roles and Access Levels
To change a user's assigned role:
-
Select the current role to display the role dropdown:
-
Select the role you want to assign the user from the dropdown.
Result: A confirmation message is displayed.
-
Select to confirm the change.
Change Admin Access
The Admin Access column indicates if the user has Administrator rights in Sintelix.

To assign or remove Administrator access for a user:
-
Select the Admin Access status for the user
Result: A confirmation message is displayed.
-
Select to confirm the change.
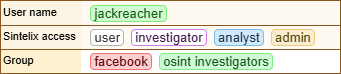
Change User Security Groups
The Security Privileges table summarises the user's security privileges including their username and access rights.
In addition, a user can be assigned to security groups which can be assigned to access to Projects, Collections or Networks.
You can add or remove security groups for the user.
-
Select the Security Privileges table
-
Add or remove security groups as required. See Security Groups.
-
Select to confirm the change.
Result:
If the user is not logged in, the security groups are updated and will apply next time they log in.
If the user is logged in, the following message is displayed.
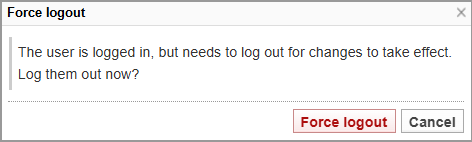
-
Do you want to force the user log out to apply the changes?
If yes, select .
If no, select to apply the changes next time the user logs in.
Delete Users
Once you have deleted a user’s account you cannot undo the action.
Before deleting a user, you can export the users. Importing the exported file will recover missing user accounts. See Export and Import Users.
You can either delete a single user or multiple users.
Delete a Single User
-
Select the Delete icon
 at the end of the user’s record
 -
Select the button to confirm.
Delete Multiple Users
-
Select the checkbox next to the users you want to delete, and then
-
Select the
 Delete Selected button
 -
Select the button to confirm.
Export and Import Users
You can export the Sintelix User Accounts to an encrypted file. This allows you to backup up user accounts or to transfer user accounts.
-
Select the
 Export... button to download an encrypted file, for example:
demo.net.sxuseraccounts -
Select the
 Import... button and select the required .sxuseraccounts file to upload.
Result: The user accounts are imported. Any user accounts with the same user name will not be imported. A message dialog is displayed summarising the import results.
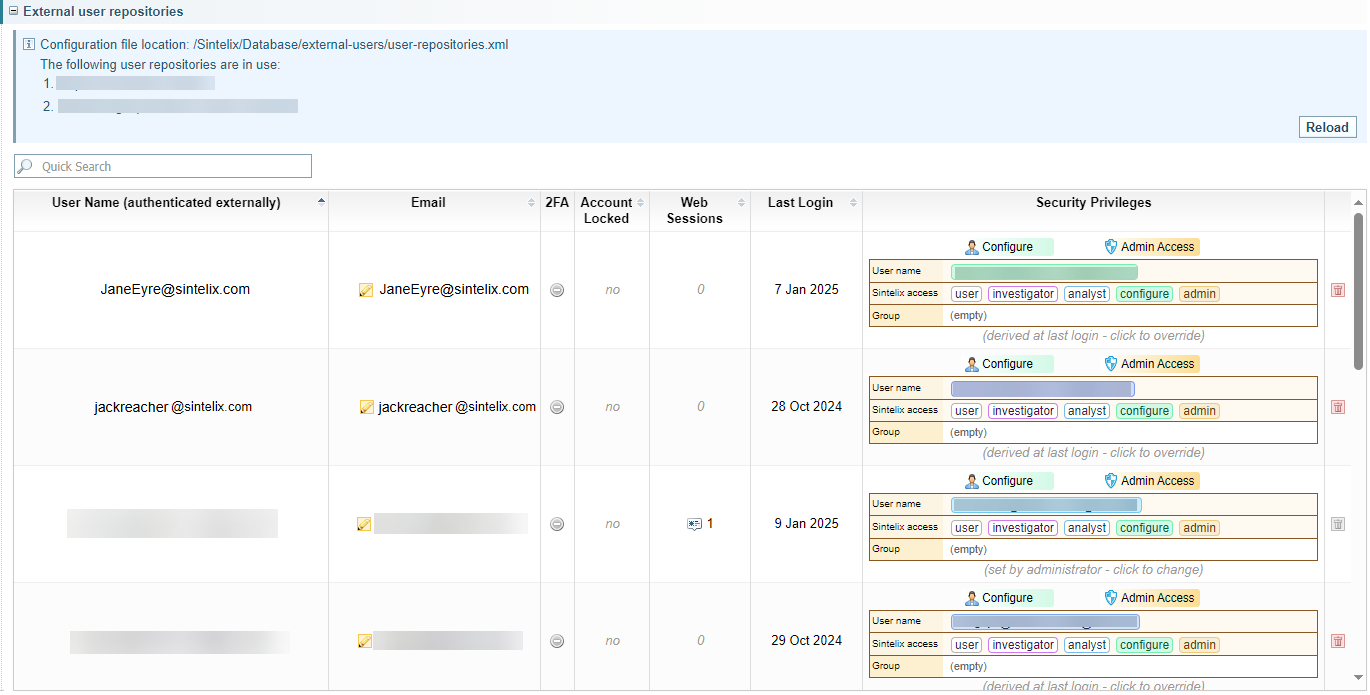
Manage External Users
Screen Example
Below shows the table of Users authenticated by an external user authentication service.
Actions
The actions available include:
|
Column |
Display |
Action |
|---|---|---|
|
|
|
Change User Email |
|
Password Reset |
Reset a User Password | |
|
2FA |
|
Remove Two Factor Authentication |
|
Account Locked |
Unlock a User Account | |
|
Security Privileges |
|
|
|
|
|
Override User Security Groups
The Security Privileges table summarises the user's security privileges including their username and access rights.
In addition, a user can be assigned to security groups which can be assigned to access to Projects, Collections or Networks.
These settings can be controlled using the external user authentication protocol. If necessary, the Administrator can override the external user authentication protocol to assign the user to Security Groups.
You can add or remove security groups for the user.
-
Select the Security Privileges table
-
Select the Override checkbox to enable changes.
-
Add or remove security groups as required. See Security Groups.
-
Select to confirm the change.
Result:
If the user is not logged in, the security groups are updated and will apply next time they log in.
If the user is logged in, the following message is displayed.
-
Do you want to force the user log out to apply the changes?
If yes, select .
If no, select to apply the changes next time the user logs in.