Manage Networks
Networks Pane
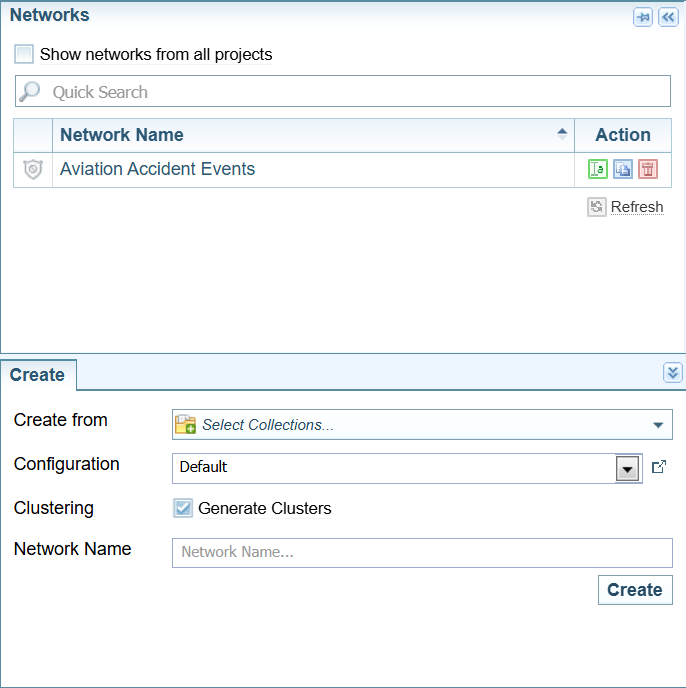
When you click the Networks tab, the Networks pane is displayed.
Actions
From the Networks Pane, you can:
| Open a Network |
Select the Network name. Once selected, the Networks pane will collapse, and the Network and Network Table View panes will be displayed. |
| Rename a Network | Select the  Rename icon. Rename icon. |
| Copy a Network | Select the  Copy icon. Copy icon. |
| Delete a Network | Select the  Delete icon. Delete icon. |
| Create a Network | Select the Create tab at the bottom of the Networks pane. |
Create a Network
The Ingestion configuration assigned to a Collection can include instructions to automatically generate or update a Network every time a Collection is processed. For example, when adding documents or reprocessing a Collection.
However, occasionally you may wish to create a Network independently of that process, for example, to examine different aspects of the data contained in the Collection or to test a new configuration.
Create a Network
-
Select the Project.
-
Navigate to one of the following tabs:
-
Select the Projects tab and then select the
 Create a Network button:
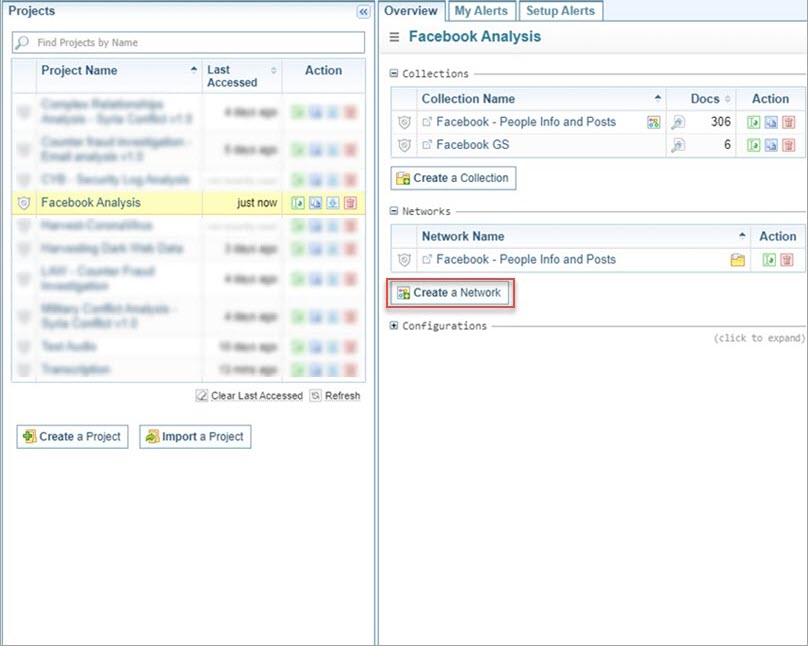
-
Select the Networks tab and select the Create tab at the bottom of the Manage Networks pane:
-
-
Select the Collection from which to generate the Network.
-
Select the Network Creation configuration from the Configuration dropdown.
-
Unselect the Generate Clusters checkbox if you do not want to cluster the Network. (You usually want to cluster the Network.)
-
You can leave the Network name blank to use the Collection name as the Network Name. Enter a name for the Network if required, for example if a Network with the Collection name already exists.
When the Collection name is the same as the Network name, they are linked, indicated by a folder icon
 beside the name of the Network.
 -
Select .
-
If you created the network from the Networks pane, the Network is created and opened.
-
If you created it from the Projects pane, the Network is created, but not opened.
-
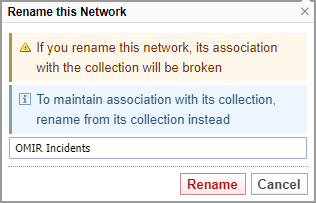
Rename a Network
When a Network has the folder icon , it is associated with a Collection. If the Network is renamed, this connection is broken. To maintain the connection, instead rename the Collection. When the collection is renamed, the Network will be automatically renamed to match the Collection name.
To rename a network:
-
Select the Rename icon
for the Network you want to rename. -
In the Rename this Network dialog, enter the new name for the Network.
-
Select .
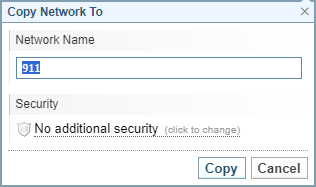
Copy a Network
To copy a network:
- Select the Copy icon for the Network you want to copy.
- In the Copy Network To dialog, give the new Network a name.
- Change the Security level for this new network, if required.
- Select .
Delete a Network
When you delete a Network you cannot undo the action.
To delete a network:
- Select the Delete icon
 for the Network you want to delete.
 - Select .