View the Node Table
Actions
Once you have selected a Node in the Overview pane, the Network Node Table is displayed.
From the Node Table View, you can:
- Filter and sort the views (see Filter and Sort Network Tables)
- View a node's neighbours in nested tables (see View Neighbours in Nested Tables)
- Select and Edit the Node Table Layout (see Network Table Views and Layout)
- Edit the node entries (see Edit Features and Fields)
- Access the Action menu to analyse the contents of the Network Table.
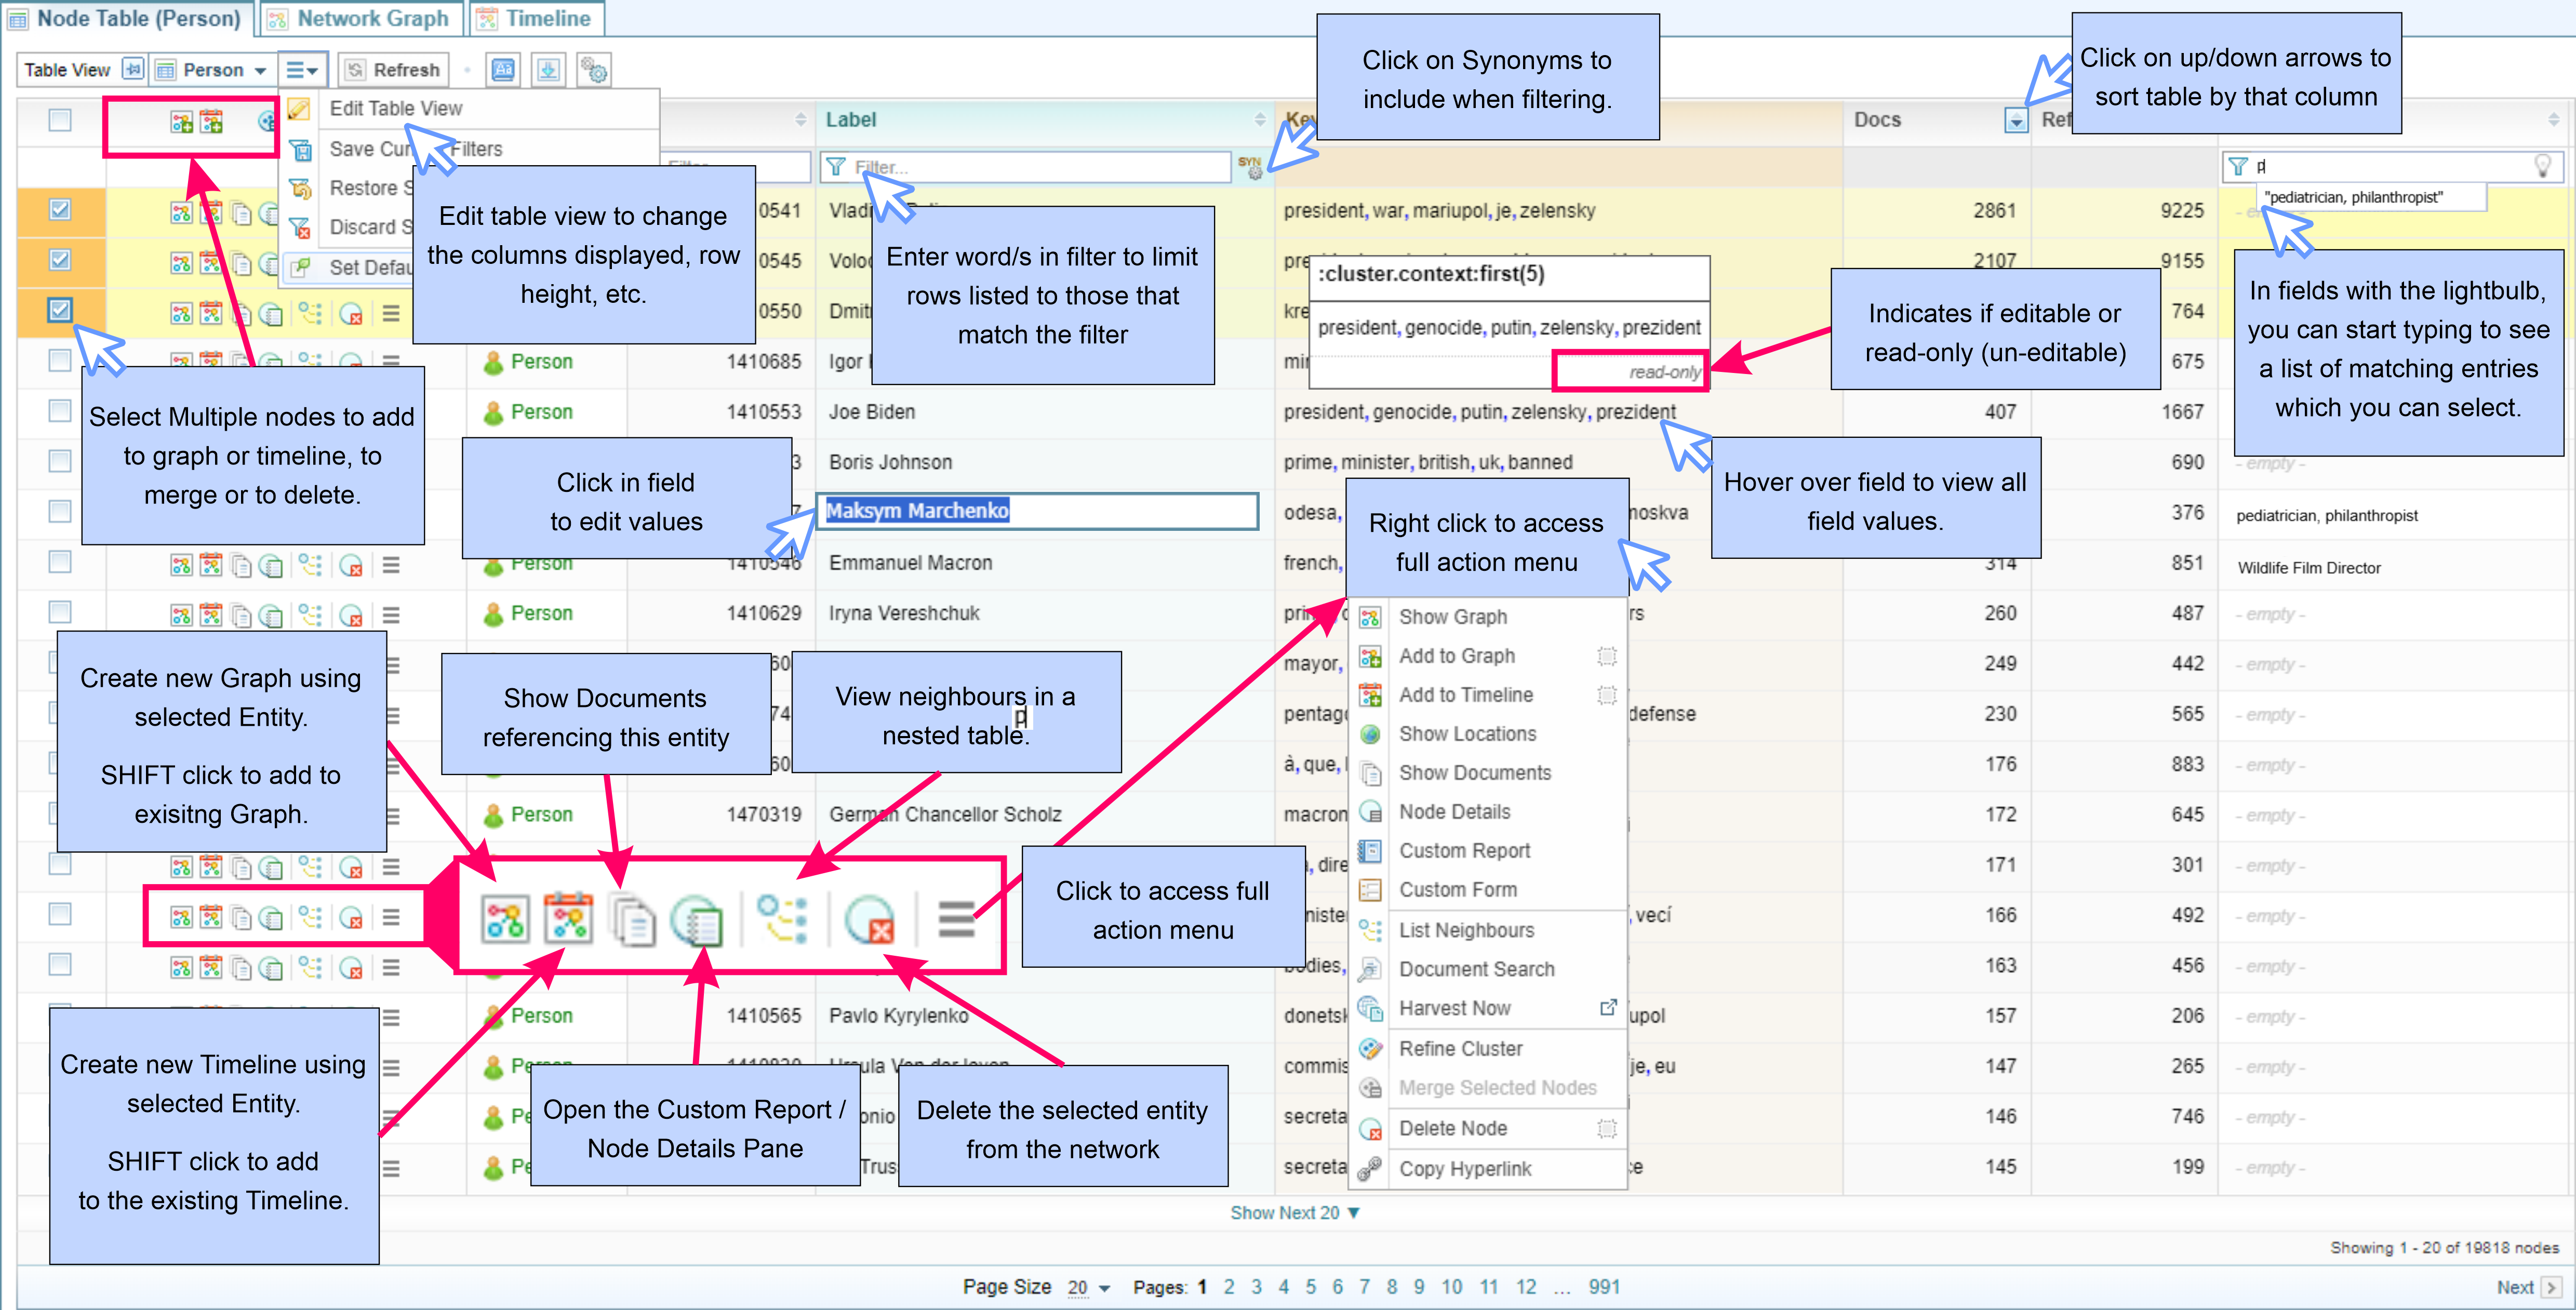
Features and Shortcuts
The diagram below quickly summarises some of the features and shortcuts when viewing Network Tables.
Configurations
The default table view displayed for the selected node can be set in Assign Default Forms and View Settings .
Action Menu
Each table entry has an Action menu displayed.
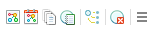
The different actions available from the action menu are described below.
|
|
Opens a newNetwork Graph for that Node, displayed in the Network Graph tab. Hold the SHIFT key to add the node to the existing Network Graph. |
| |
Add the Node to the Timeline View, displayed in the Timeline tab. |
|
|
Opens the Documents tab in the Side Bar panel. See Documents Pane |
| |
Opens the Custom Report tab in the Side Bar panel, with access to the Node Details tab and Custom Form tab where you can edit the node details. See Node Details: View, Edit & Report |
|
|
Allows you to view neighbours in a nested table. |
| |
Deletes the Node entry. |
| |
Displays the full Action Menu. Right clicking in a Table row will also open the full Action Menu.
|
| |
Adds the Node to the Network Graph, displayed in the Network Graph tab. See Network Graph Analysis |
| |
Show Locations opens the Map Table tab in the Side Bar panel, showing a map of the locations associated with the selected node. For example, select Show Locations for a Person and the map will show all locations associated with that Person found in the Network. See Viewing Maps |
| |
Node Details opens the Node Details tab in the Side Bar panel, showing the node details. See Node Details: View, Edit & Report |
| |
Document Search opens the Search tab in a new window. See Sintelix Search. |
| |
Harvest Now sends a search query based on the text in the current node label to the Harvester. Requires the Harvester to have a default set in the Harvester Panel. |
 |
Refine Clusters opens the Refine Clusters screen. See Refine cluster nodes. |
| |
Merge Nodes requires more than one node to be selected. Merges the selected nodes into a single Node. For example, if there two Person nodes with similar names, such as "Joe Biden" and "Biden", you can select these modes and merge them into one node (entity). |
 |
Copy Hyperlink creates and copies a link to the Node/Link table. You can add this link to your documents or project pages. |

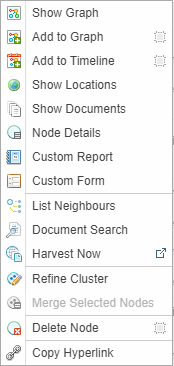
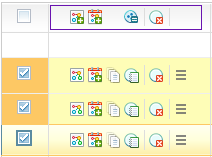
Action Menu: Multiple Selections
When multiple Table rows have been selected, an Action Menu appears in the column header:
Select multiple nodes to access the Action menu for multiple selections.
With multiple nodes selected you can ![]() merge or
merge or ![]() delete the selected nodes.
delete the selected nodes.
You can also add the multiple selected nodes to a  Network Graph or
  Timeline.